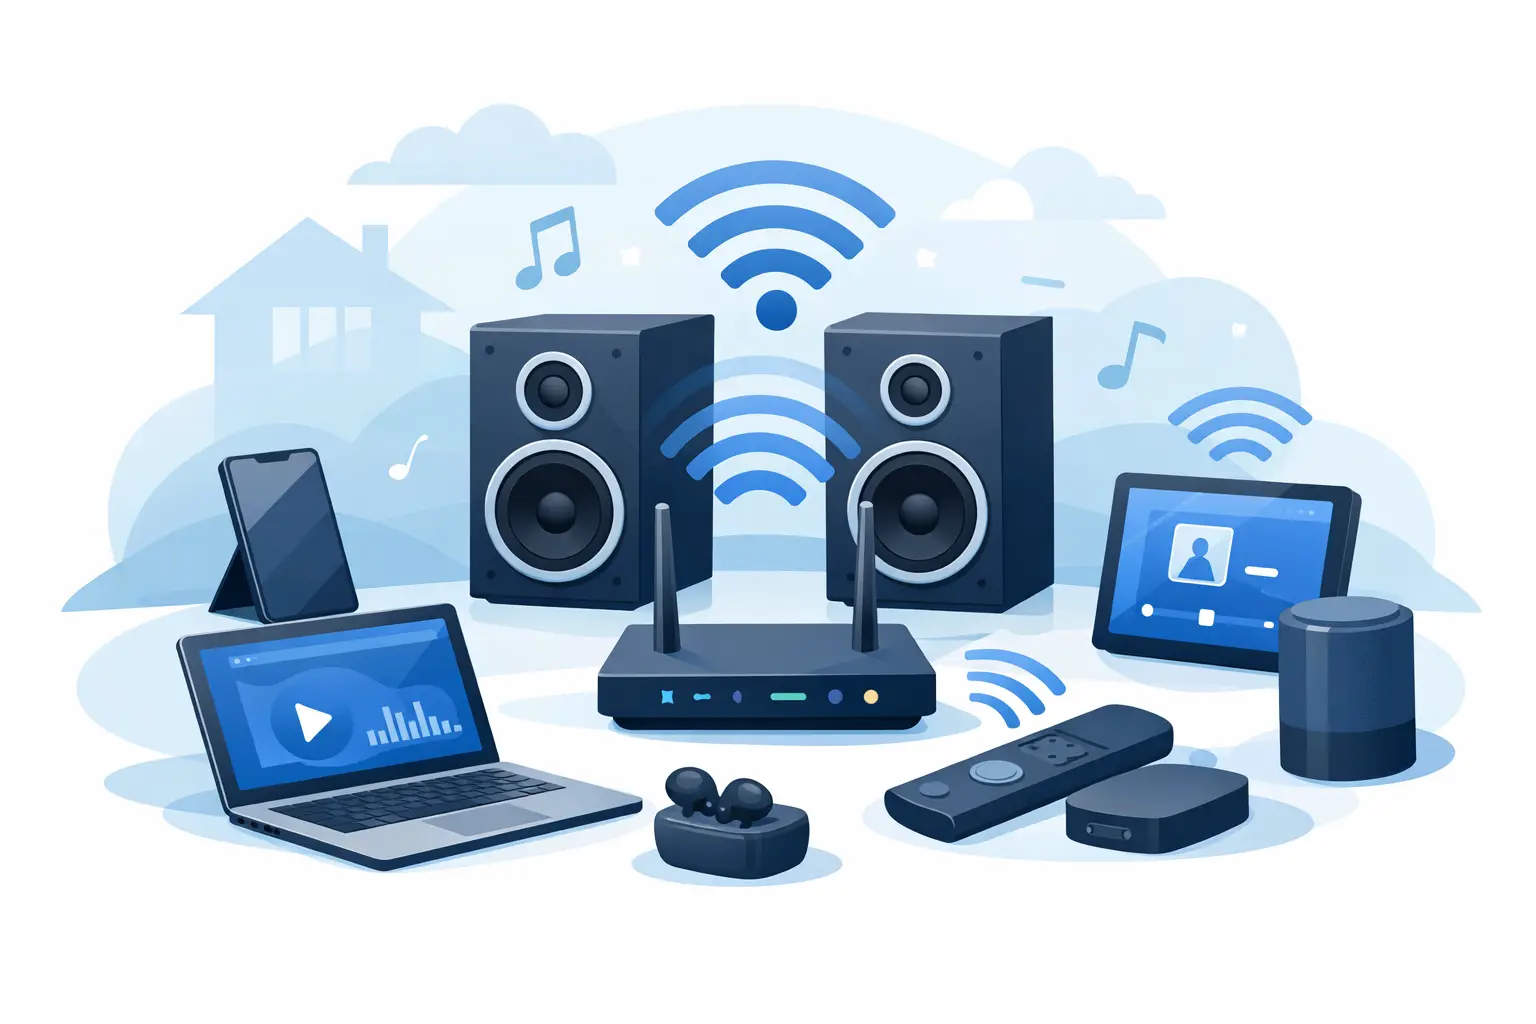
A spare phone on a bookshelf, a tablet near the couch, and a laptop on a desk can do more than play the same song at different volumes. Connected with the right controls, they become a wireless audio system that spreads sound across the room and gives each device a job.
That changes the usual question from “Which speaker should I buy?” to “Which devices do I already have?” For apartments, dorm rooms, house parties, studio sessions, and small creative events, that is a practical difference. You can build a wider, more immersive setup without waiting for a new hardware purchase or committing to one closed speaker ecosystem.
A wireless audio system is more than grouped playback
Sending the same track to several devices is useful, but it is only the starting point. A real multi-device setup needs timing, channel control, and a clear way for people to join without interrupting the session.
If one phone plays noticeably behind the others, the room does not feel bigger. It feels broken. A beat arrives twice, vocals blur, and the effect becomes more distracting as devices are placed farther apart. Synchronization is what turns several independent speakers into one listening environment.
Channel assignment matters just as much. Put one device on the left side of the room, another on the right, and a third near the center. Now each device can support a defined part of the mix instead of simply duplicating it. If a device has stronger low-end output, use it for bass support. If a tablet has clear vocal presence, position it near the listener and use it as a center channel.
The goal is not to pretend that old phones are a professional cinema installation. The goal is to make the equipment already in the room work with intention.
Start with the room, not the device list
Before creating a session, look at the space you want to fill. A small bedroom needs a different arrangement than an open living room or a backyard gathering. More devices are not automatically better. In a tight room, too many speakers can create harsh reflections and make the sound feel crowded.
Start with two devices placed apart from one another. This gives you a simple left-right image and makes synchronization issues easier to hear. Add a third device only when there is a clear role for it, such as filling a dead zone, strengthening the center image, or reaching listeners in an adjacent area.
Device placement affects the result as much as audio settings. Avoid placing every speaker at the same height and in the same corner. A phone on a high shelf may project differently from a tablet on a table. Test the room while standing where people will actually listen, not only beside the host device.
For a casual party, coverage may matter more than precise stereo imaging. Spread devices toward separate conversation areas so no one has to crowd around a single speaker. For a movie night, gaming session, or focused music listening, place devices more deliberately around the main seating position.
Create one session and control who joins
A shared audio environment should be easy to enter and difficult to disrupt. That is why a session model works better than asking everyone to pair devices manually or pass around Bluetooth connections.
Start the session on the host device. Name the room clearly, especially if multiple groups are nearby. Then let guests join by scanning a QR code. This removes the usual friction of searching for a device, entering long connection details, or installing a specialized app before the music starts.
Use a room password when the session is private or when you are running audio in a shared venue. The host should remain in control of playback, connected devices, and room settings. Guests can contribute devices, but not every guest needs the same level of access.
This structure is useful beyond parties. A student group can turn several laptops and phones into an audio setup for a presentation. A photographer can create an ambient sound layer in a pop-up exhibit. A small team can test spatial ideas in a studio without buying a dedicated multi-speaker rig first.
MUSIXQUARE uses this browser-based session approach so devices can join quickly across phones, tablets, and desktops. Open the session, scan the code, and assign each device a role.
Assign channels with a purpose
Once devices are connected, give them jobs. The simplest setup uses left and right channels. Place the left-channel device to the listener’s left and the right-channel device to the listener’s right. Keep their volume levels close before making fine adjustments.
A three-device arrangement adds a center channel. This can help anchor vocals, dialogue, or lead instruments, particularly when listeners are not seated in one exact spot. Place the center device in front of the main listening area, not directly beside one of the side channels.
If you have a device that handles low frequencies better than the others, consider assigning it to a subwoofer-style role. Keep expectations realistic: small phone speakers cannot move much air. But a larger tablet, computer speaker, or device connected to an external speaker can add useful body when placed near a wall or floor.
You can also build a practical coverage layout instead of a traditional surround layout. In a long room, assign devices by zone and keep their output consistent. The experience may not have a pinpoint stereo image, but it will feel more even from one end of the room to the other.
Fix synchronization before adding effects
Sound effects are tempting. Reverb can make a track feel larger, virtual surround can widen the image, and bass enhancement can add impact. But effects cannot repair bad timing. Set synchronization first.
Play a track with a sharp kick drum, clap, or spoken vocal. Walk between devices and listen for doubling or echo. If you hear separation between the same sound arriving from different devices, adjust delay and synchronization settings until the timing tightens.
Network conditions affect results. Devices on a stable local connection usually perform better than devices moving between weak signals. Keep the host device awake, avoid heavy downloads during playback, and place devices where they have reliable connectivity. If one device consistently lags, remove it from the session, reconnect it, and test again before changing the whole system.
There is also a physical limit: sound travels through air. Devices placed very far apart will naturally reach a listener at different times, even when digital playback is synchronized. In a large space, prioritize zone coverage over a perfect listening position. In a smaller space, keep channel devices closer to an intentional layout.
Tune the sound for the devices you have
Mixed devices do not sound identical. One phone may be bright and thin. A laptop may emphasize midrange. A tablet may play louder but distort when pushed too hard. Treat tuning as a correction tool, not a volume contest.
Start by setting every device to a moderate output level. Then use the system’s main controls to balance the room. If one device is too sharp, reduce the high-frequency presence or add warmth. If speech and vocals feel buried, increase clarity carefully. Small changes are more useful than aggressive settings applied everywhere.
Reverb can create space for ambient music or a visual installation, but it can reduce intelligibility for dialogue. Virtual bass may make compact speakers feel fuller, yet too much processing can cause rattling or distortion. Virtual surround can add width, but only when device positions support it.
Test with the content you will actually play. A bass-heavy playlist, a podcast, a film, and an acoustic set reveal different problems. Do not tune solely with one polished demo track and assume the settings will work for everything else.
Build for the moment, then adjust in real time
The best setup is the one that matches the room and can be changed quickly. Add a device when a space needs coverage. Rename a device when the room gets confusing. Move a channel when the listening position changes. Lower one device rather than turning every other device up.
That flexibility is the real advantage of a wireless audio system built from existing devices. Your setup can be small and focused on Tuesday, then expand for friends on Friday. You are not locked into a fixed speaker layout or a single manufacturer’s idea of how your room should sound.
Start a session with the devices within reach. Place them with purpose, listen for timing, and make one adjustment at a time. The room will tell you what to do next.