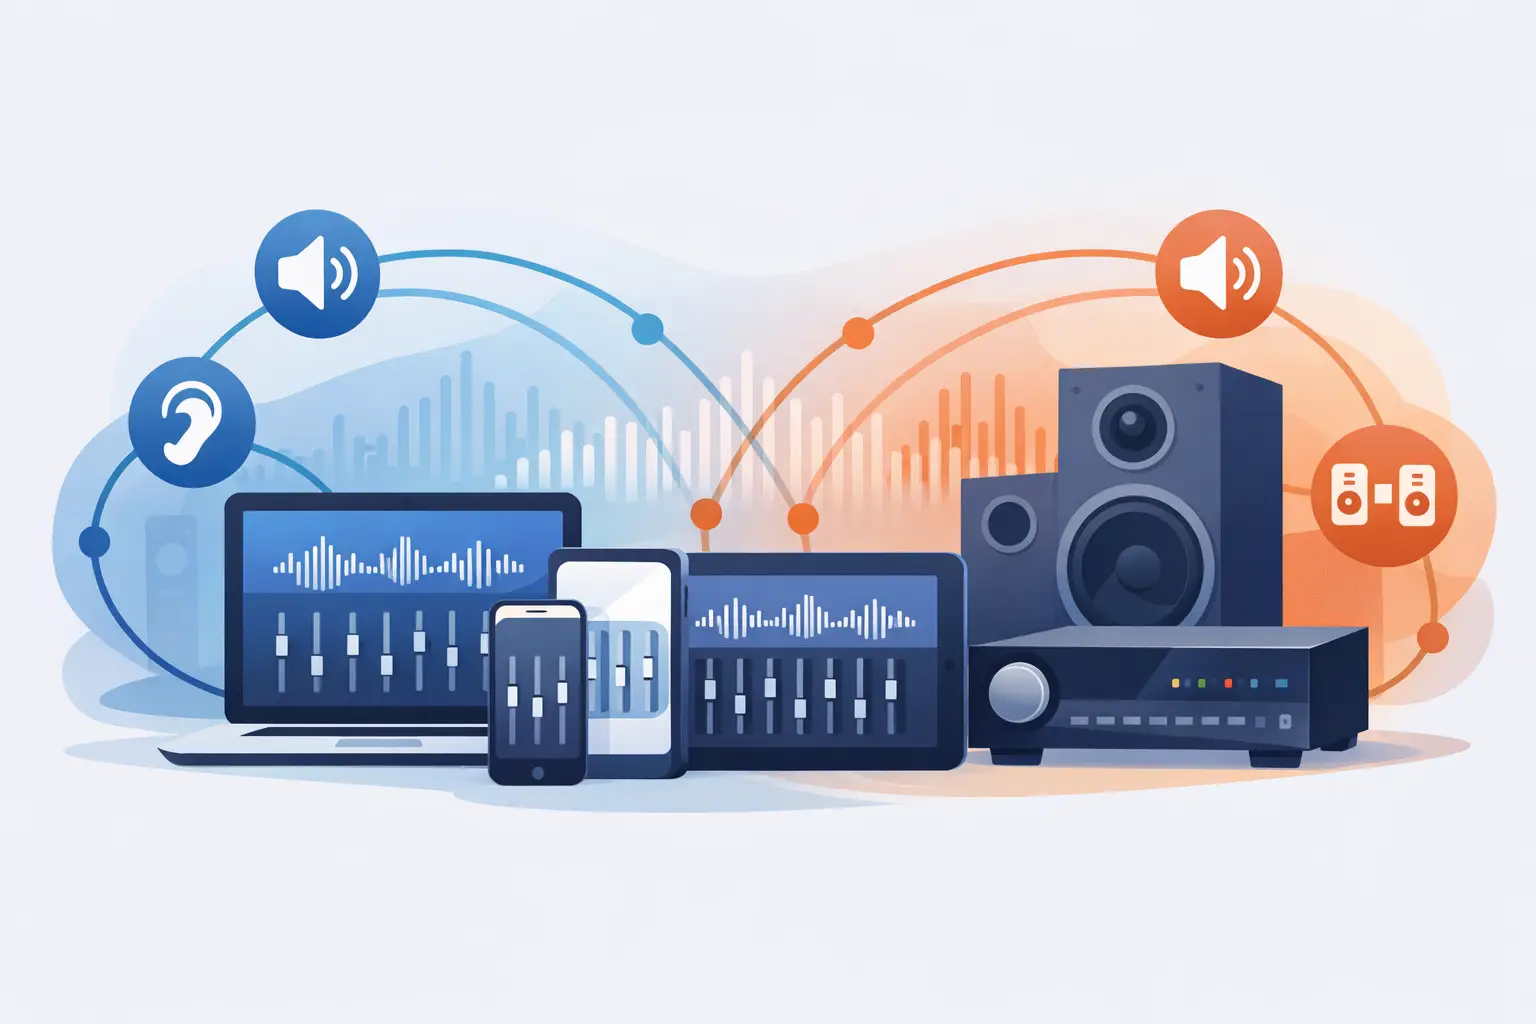
A spare phone on a bookshelf can do more than play the same music as every other device. Assign it a job. Put the vocal-forward device in front, send ambient detail to the sides, and position the strongest speaker where bass has room to build. This device channel mapping guide explains how to turn the phones, tablets, and computers already in your space into a deliberate multi-device audio layout.
Channel mapping is the difference between several devices playing at once and several devices acting like one system. It does not require a studio, matching speakers, or a permanent installation. It does require smart placement, realistic expectations, and a few minutes of listening after each change.
What device channel mapping actually does
A channel is an assigned role in a sound field. In a traditional home theater setup, dedicated speakers handle the left, right, center, surround, and low-frequency channels. With a browser-based multi-device audio session, each connected device can take on one of those roles instead.
The goal is not to make every device sound identical. Different devices have different speaker sizes, volume limits, and frequency response. A tablet may produce clearer midrange than an older phone. A laptop may be louder but less focused. Mapping lets you use those differences on purpose.
For example, a device near the TV can handle the center channel, where dialogue and lead vocals usually feel most natural. Two devices placed to the left and right can create width. A larger tablet or computer with more low-end output can support bass, as long as it is placed where vibrations will not distort the sound.
This approach works especially well for movie nights, casual DJ sets, gaming, creative workspaces, small parties, and listening sessions where one Bluetooth speaker feels too narrow for the room.
Start with the room, not the channel labels
Before assigning channels, look at the physical space. Channel mapping cannot fix a device placed in the wrong location. A left-channel phone sitting directly beside the right-channel tablet will not create meaningful stereo width, no matter how accurate the settings are.
Stand where people will listen most often. That point is your reference position. Then identify three useful zones: front, sides, and rear. The front is usually the wall, desk, or screen area people face. The sides should be separated enough to create width without forcing listeners to turn their heads. Rear positions work best behind or slightly behind the listening area.
Avoid placing every device on the same hard surface. A phone on a hollow table can rattle. A tablet pressed into a corner can make midrange sound boxy. Move devices away from walls when you want clearer detail, and use corners carefully when you want a little more bass presence.
There is no universal distance that works in every room. In a small bedroom, left and right devices may only need to be four to six feet apart. In a living room, wider spacing can make the sound field feel more open. Adjust for the room you have, not the room in an audio diagram.
Device channel mapping guide: build a useful layout
Start with a simple front-stage configuration. It gives you the biggest improvement with the fewest devices and makes sync problems easier to spot.
Map left and right first
Assign one device to the left channel and place it left of the main listening position. Assign another to the right channel and place it on the opposite side. Keep their distance from the listener reasonably similar. Perfect measurement is unnecessary, but a phone two feet away and a tablet twelve feet away will pull the image to one side.
Use similar devices when possible. Two phones from the same generation generally produce a more balanced stereo image than a phone and a large laptop. If your devices do not match, compensate with volume. Lower the louder device until vocals and instruments feel centered between the two sides.
Play a familiar track with a clear vocal. If the vocal seems to come from one device instead of the space between them, check channel assignments first. Then adjust volume in small increments. Moving a device by even a foot can also help.
Add a center channel for focus
A center channel is most useful when you are watching video, playing a game, or listening to music with prominent vocals. Place this device directly in front of the listening area, ideally near the screen or at ear level when seated.
Do not make the center channel the loudest device by default. Too much center volume collapses the stereo image into a single point. Raise it only enough to improve speech, vocals, or lead elements. For music-first listening, many setups sound better with the center slightly below the left and right channels.
Use rear channels for space, not volume
Rear or surround channels can make a small room feel larger, but they are easy to overuse. Place them behind the main seating area or slightly to each side. Their job is to add atmosphere, motion, and room-scale detail. They should not compete with the front channels.
Older phones are often good surround devices because they do not need high output. Keep their volume moderate. If rear sound immediately grabs attention during every song or scene, turn it down. You should notice the room getting wider before you notice a specific speaker behind you.
Assign bass carefully
A bass or subwoofer role depends heavily on the device. Most phone speakers cannot reproduce true sub-bass, and forcing them to do so can create distortion instead of impact. Use a tablet, laptop, or the device with the strongest low-end response for this role.
Place the bass device low in the room, but do not trap it beneath furniture where heat and vibration become problems. A position near a wall can add weight. A corner can add even more, though it may sound boomy. Start near the front of the room, then test a few positions with a track you know well.
If the bass channel sounds muddy, reduce its level before increasing any enhancement setting. Clean, controlled low end makes the whole system sound larger than exaggerated bass does.
Create the session and name each device
Use a clear setup flow. Start the host session first. Set a room password if guests are joining, then let each participant join through the QR code. Once connected, rename devices by location and role rather than leaving generic model names.
Names such as “Front Left,” “Desk Center,” “Back Right,” and “Bass Tablet” make adjustments much faster. They also prevent the common mistake of changing volume on the wrong device after everyone has moved around the room.
MUSIXQUARE is designed for this kind of flexible setup: existing devices join through a browser session and can be assigned practical speaker roles without building a dedicated hardware stack. Keep the host device accessible so one person can monitor connections, participant count, and channel assignments while the session is active.
Tune one problem at a time
Channel mapping gives each device a position. Tuning determines whether that position sounds useful. Make changes in a controlled order: sync first, volume second, then tone and effects.
If devices sound like they are echoing, do not try to fix it with reverb or virtual surround. Check latency and synchronization settings first. Even a good channel layout will feel unfocused when one device arrives late. Run a short test with a beat-heavy track or spoken voice, because timing errors are easier to hear there than in ambient music.
Once timing is stable, balance volume. Set the front left and right devices first, add center if needed, then bring in rear channels and bass. Resist the urge to raise every channel. More volume from every device usually reduces separation.
After balance, use sound controls with a specific purpose. Increase clarity when speech or vocal detail is buried. Add warmth if smaller devices sound thin. Use virtual bass sparingly on hardware that can support it. Reverb can create atmosphere for a party or art installation, but it can also blur dialogue and rhythmic detail. Virtual surround may help a three-device layout feel wider, while a well-spaced five-device layout may need less processing.
Fix common mapping mistakes
The most common problem is treating channel labels as decoration. A left channel must sit left of the listener. A rear channel must actually be behind the listener. If placement and mapping disagree, the result feels confusing rather than immersive.
Another mistake is assigning too many channels to weak devices. A two-device stereo layout with correct placement can sound more convincing than six devices playing too loudly from random locations. Add channels only when each new device has a clear physical role.
Also watch for network conditions. Keep connected devices on a stable network, avoid unnecessary background activity, and prevent phones from entering low-power modes during a session. If one device repeatedly loses sync, remove it temporarily. A stable four-device room is better than an unreliable five-device room.
Finally, do not expect a phone-based setup to replace a calibrated cinema system at high volume. Its advantage is flexibility. You can build spatial sound where you are, use what is available, and change the layout in minutes.
The best mapping is the one that fits the room and the moment. Start with left and right, listen from the actual seating area, and give every added device a clear job. When the room begins to sound wider without becoming louder, you have the system pointed in the right direction.